
Transparency is key when it comes to sponsored content. With our Sponsor feature, you can easily create sponsored content or turn any existing post into a sponsored post.
Doing so automatically adds clear visual labels to the post, helping your readers instantly identify sponsored material while maintaining trust.
Adding a sponsor
For publishing sponsored content, first you need to add a sponsor on your dashboard, under Post Sponsors:

Click on Add sponsor and fill out the form:
-
Name: name of the sponsor;
-
Logo: image size must be 300 x 300 pixels, otherwise it will crop to fit in the format;
-
Sponsor text (top): a custom text that appears before the title of your article;
-
Sponsor text (bottom): a custom text that appears after the sponsors logo;
-
ID: an ID will be automatically created after saving the new sponsor.
To save the sponsor, just click on "Update" on the "Publish" sidebar.
Now, on the sponsored article post on WordPress, switch the "Sponsored Content" to "Yes" on post options:
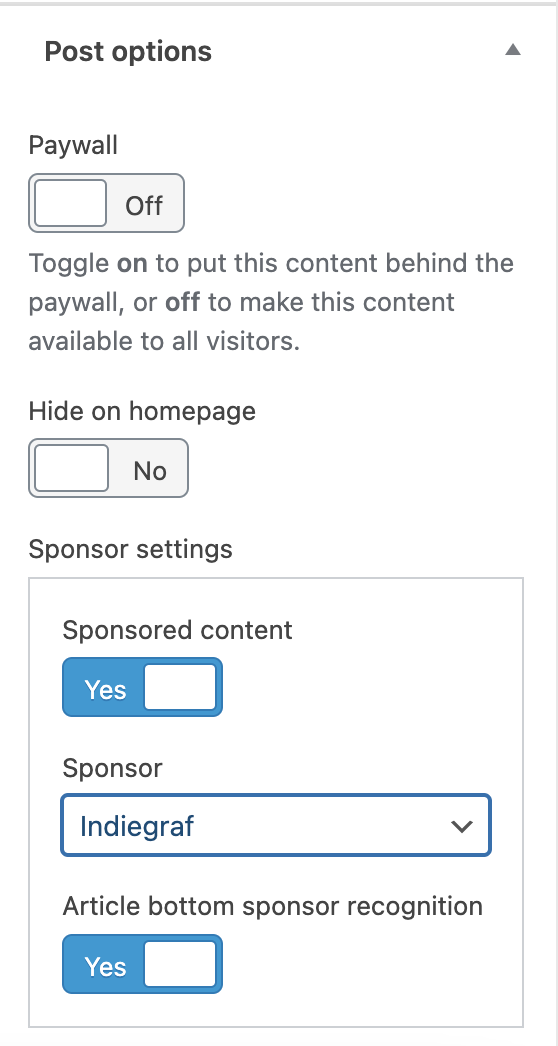
Your post will automatically start displaying:
-
A sponsored banner on the top of the page
-
the sponsor's logo at the bottom
-
and a banner on the post thumbnail

