💡 Ad Blockers interfere with Display Ads. Make sure that your ad blocker is disable when configuring your ads.
Connecting to Google Ad Manager
Enable the API in Google Ad Manager
First you need to enable the API access option in your Google Ad Manager account:
- Log in to your Google Ad Manager account;
- go to Admin > Global Settings > Network Settings > General Settings;
- enter a value in the Display name field;
- enable the API access option;
- Click on Save.
Connect your website
You must connect your Google Ad Manager account to your website through the Display Ads in order to load ads from Google Ad Manager to your site.
- Log into your site backend
- Go to Display Ads > Settings > Google Ad Manager
- Click on Connect account
- Choose the Google account your Ad Manager is hosted with;
- Confirm the connection;
The connection between your GAM account and your site should be active now.
Placing ads from Google Ads
You can manually select which Google ad to display or make a bulk import.
To manually select which ad to display, go to:
- Ads > New Ad;
- Choose "Google Ad manager";
- A list of available ads will appear. Select one and click "Next";
- In this new section, you will have the option to set Display and Visitors conditions;
- Click "Save";
- Select the placement of your ad;
- All set. Your ad is published!
For bulk import, just click "Import" from your Ad Manager settings:
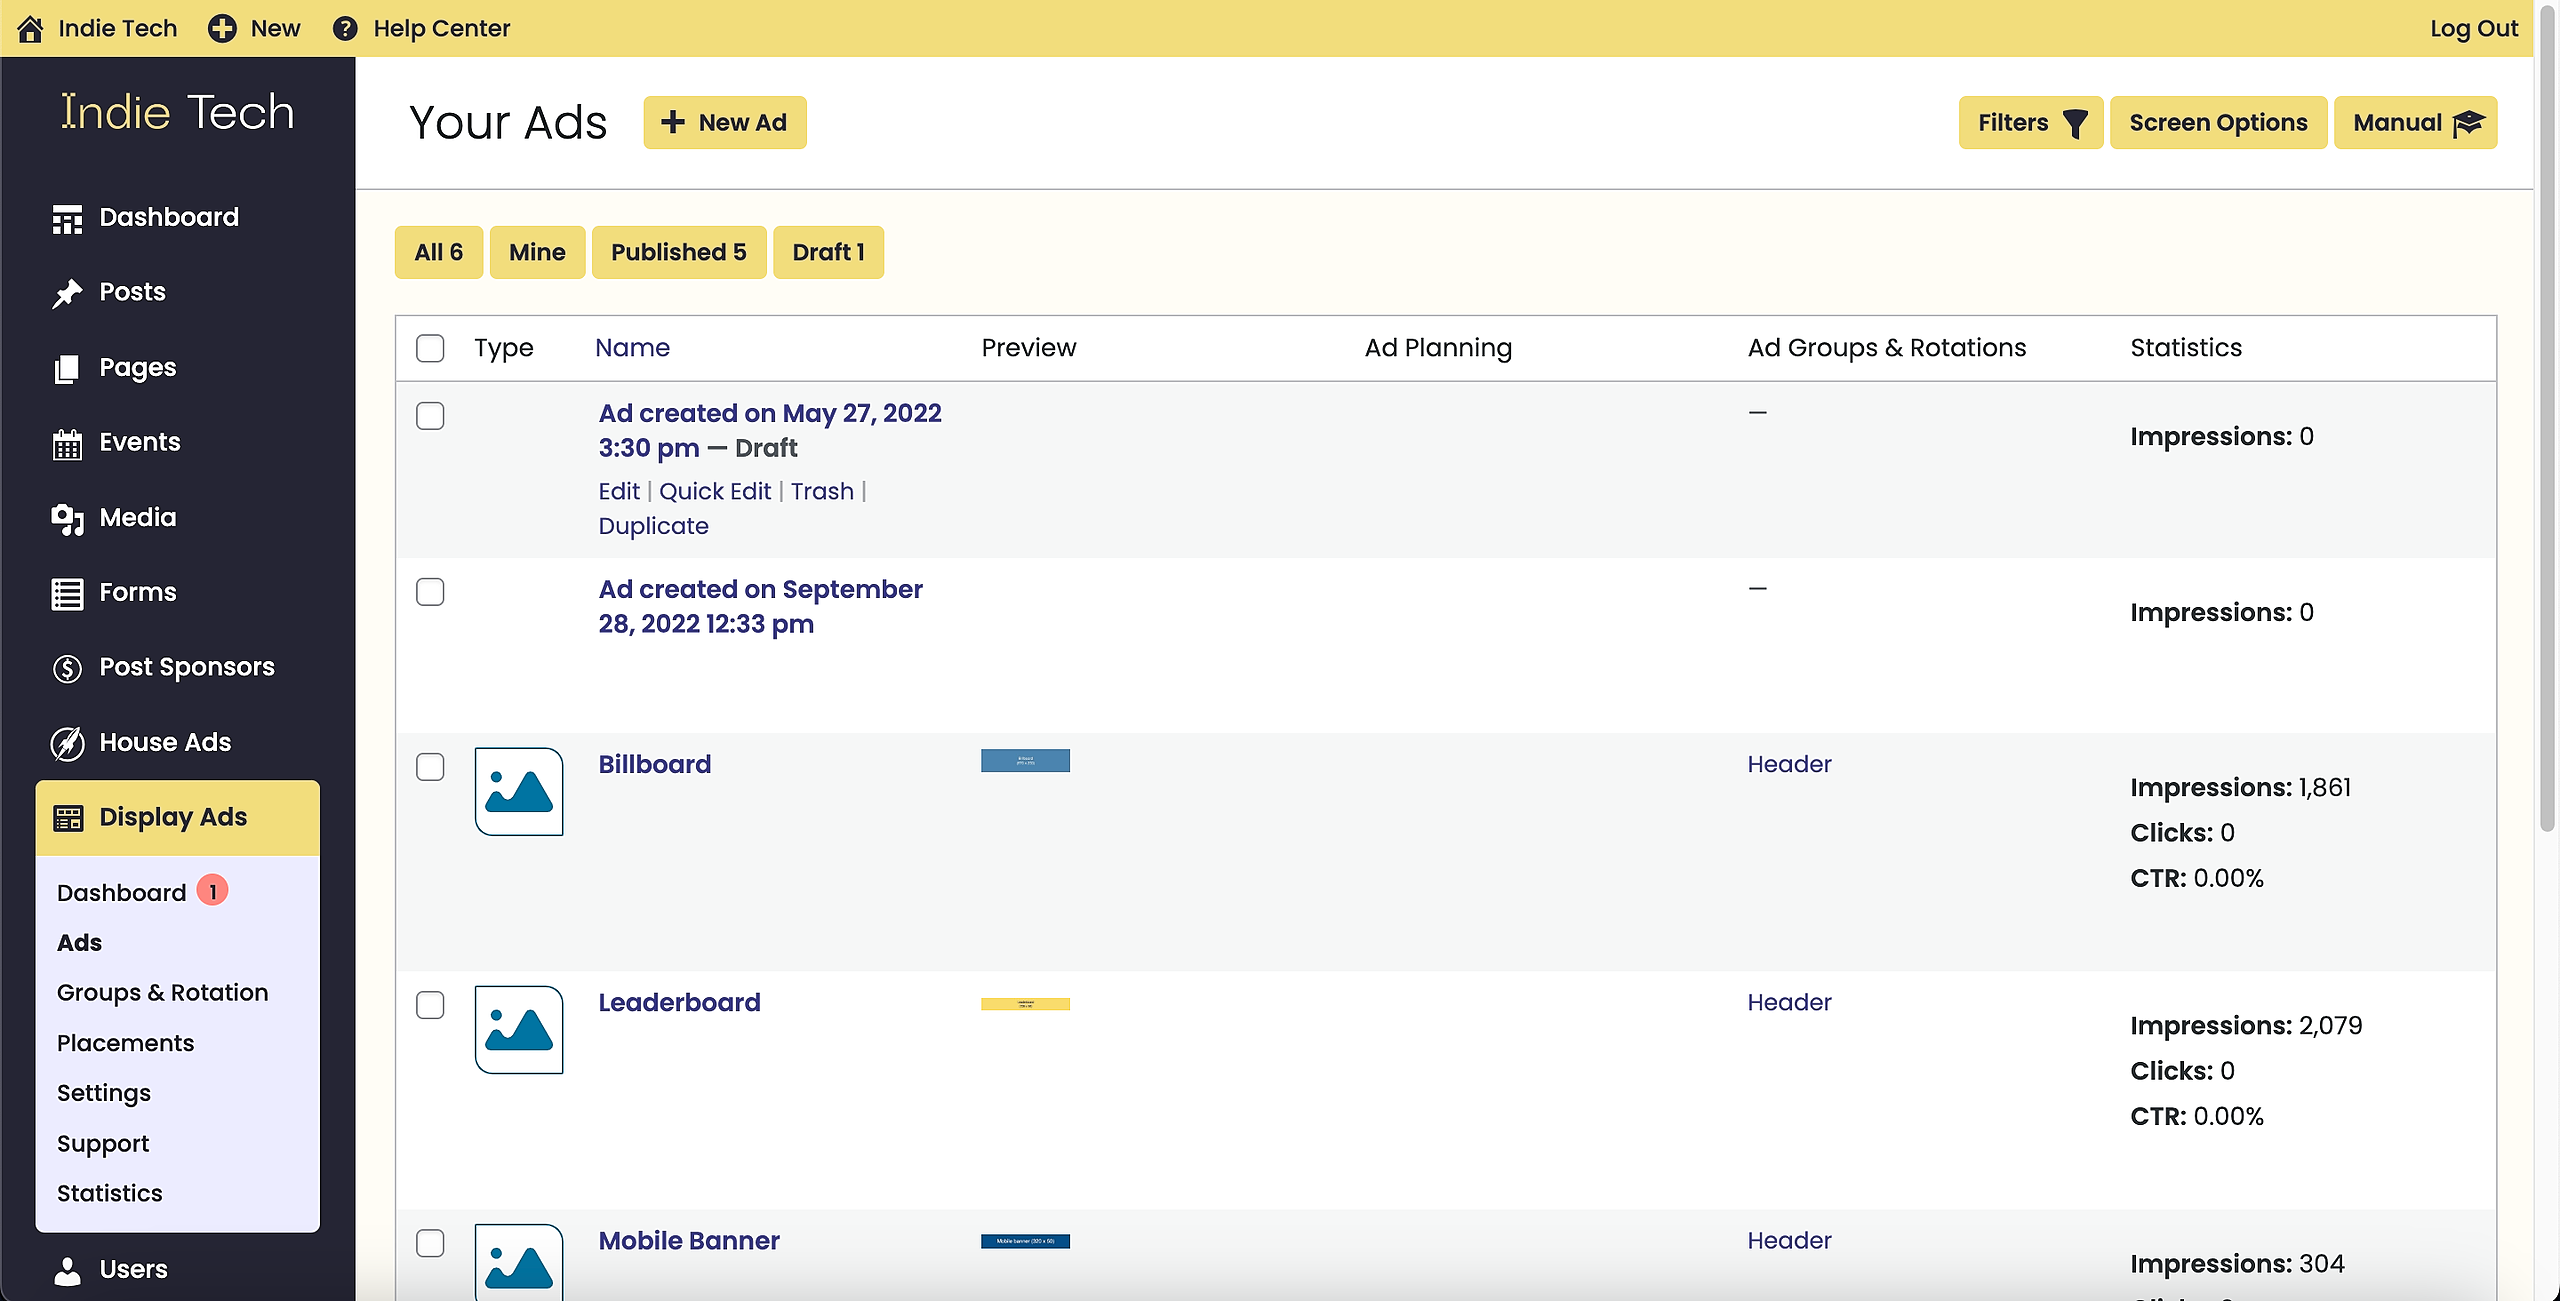
Manually placing ads
- Go to Display Ads on your dashboard;
- Click on Ads > New Ad;
- Select your type of ad. Hover on the question mark for more info. "Plain Text and Code" is for a script based ads, and you will receive this code from your advertising agency. Advanced Ads supports:
- Plain Text and Code
- Dummy
- Rich Content
- Image Ad
- Ad Group
- AMP
- Google Ad Manager
- AdSense ad
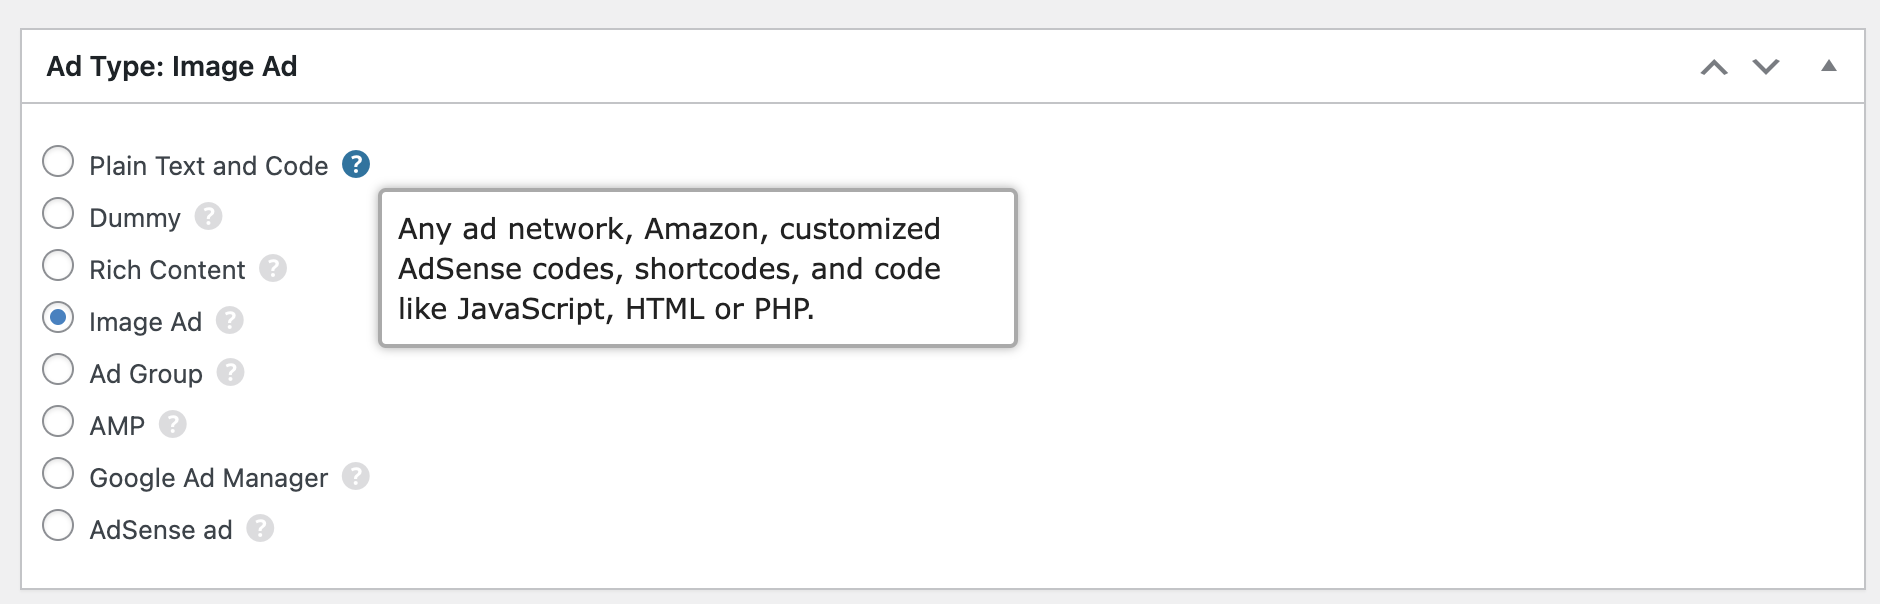
- Click on "Next";
- You can choose a Geo Location targeting on Visitor conditions;
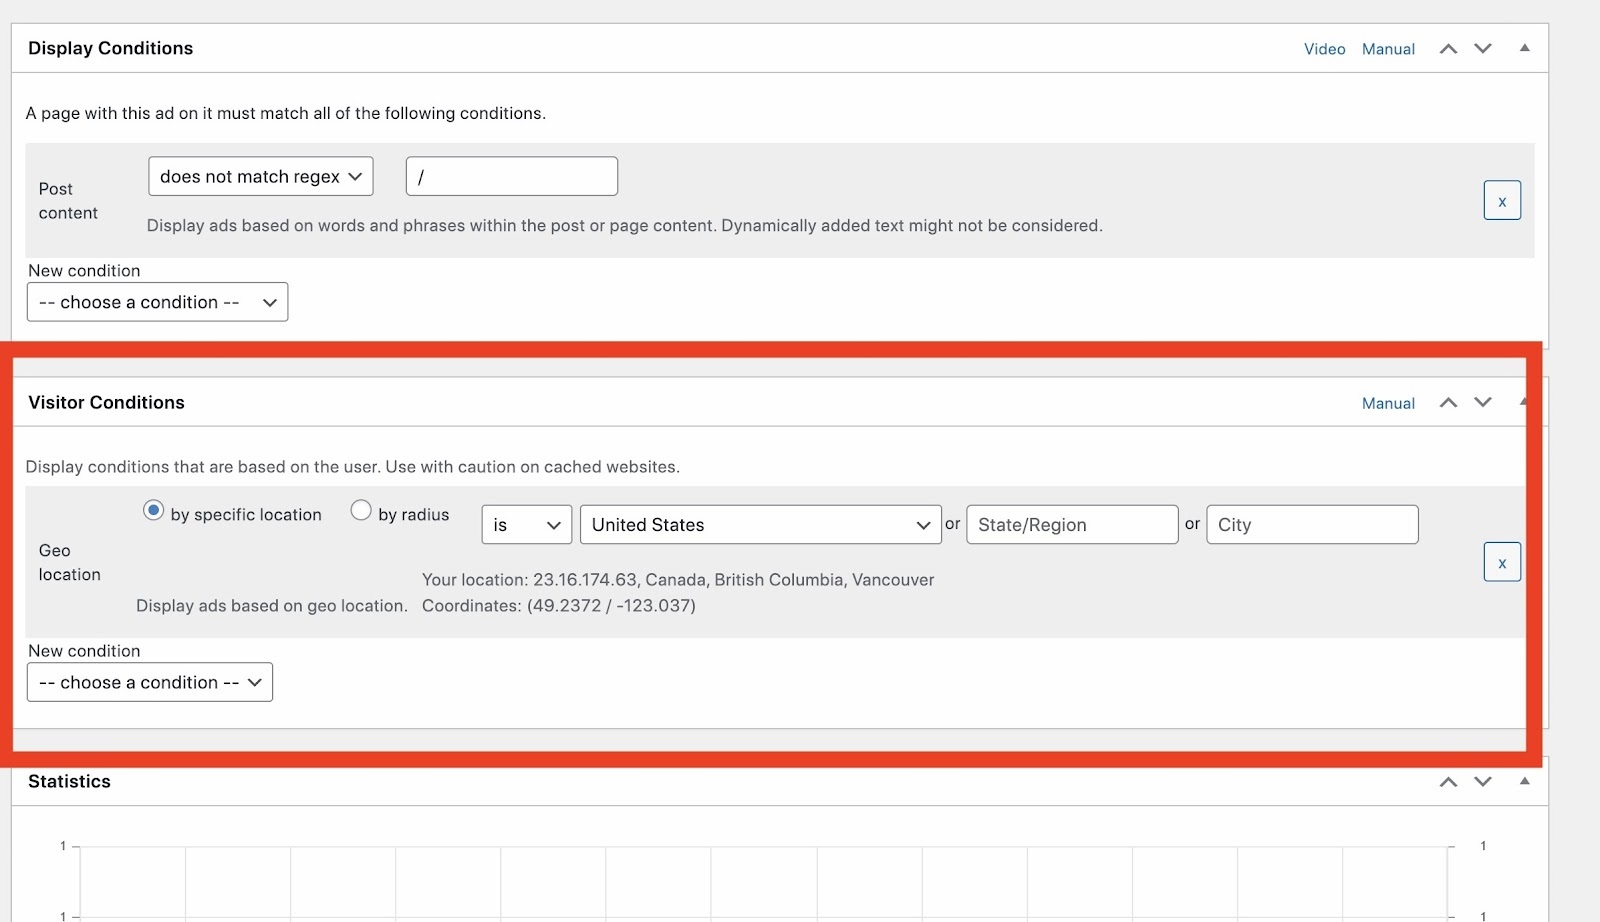
- Click "Save";
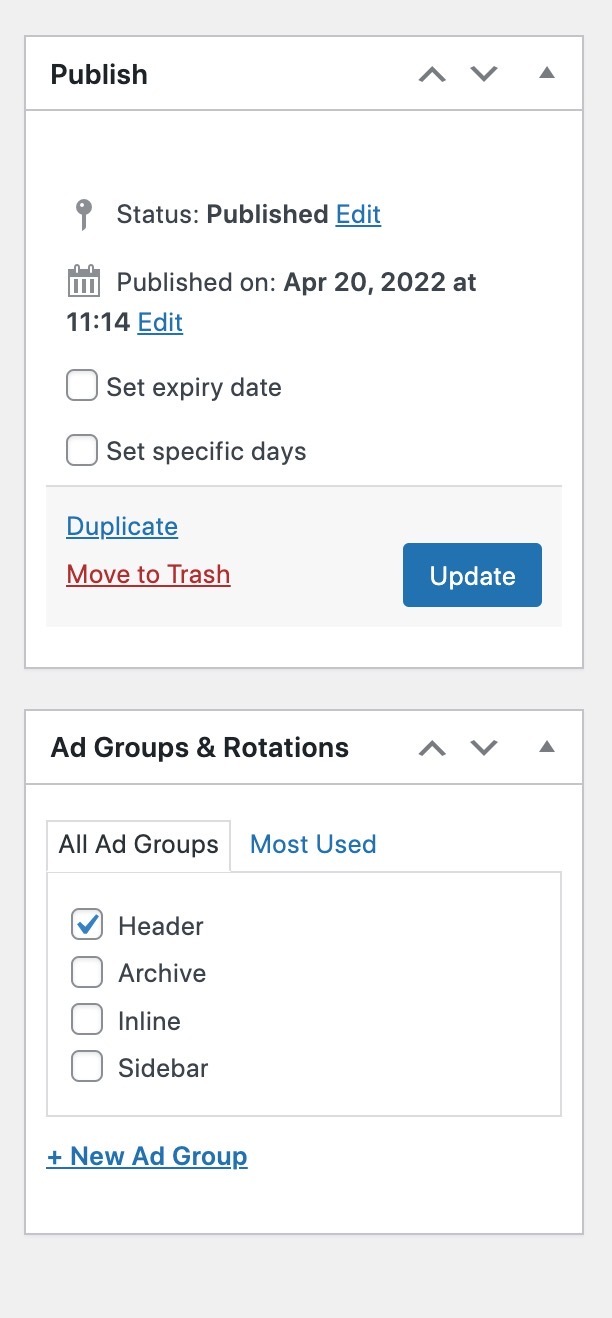
- Select how you want to display your ads. You can also select the appropriate ad placement on the “Ad Groups & Rotations” section on the right side bar. Use this configuration for each ad size:
- 728 x 90: Leaderboard - Select “Header”
- 320 x 50: Mobile Leaderboard - Select “Header”
- 300 x 250: MPU/MREC (Med Rectangle) - Select “Archive, Inline, Sidebar”
- 300 x 50: Mobile Banner - Select “Header”
- Additional settings per ad type:
- Billboard ads (970 x 250) should include a Visitor condition to “Desktop” display only
- Mobile banner ads (320 x 50) should include a Visitor condition to “Mobile” display only
- Leadership ads (728 x 50), require a minimum screen width of 768 pixels as it will allow leaderboards to display on iPads but keep them off giant phones
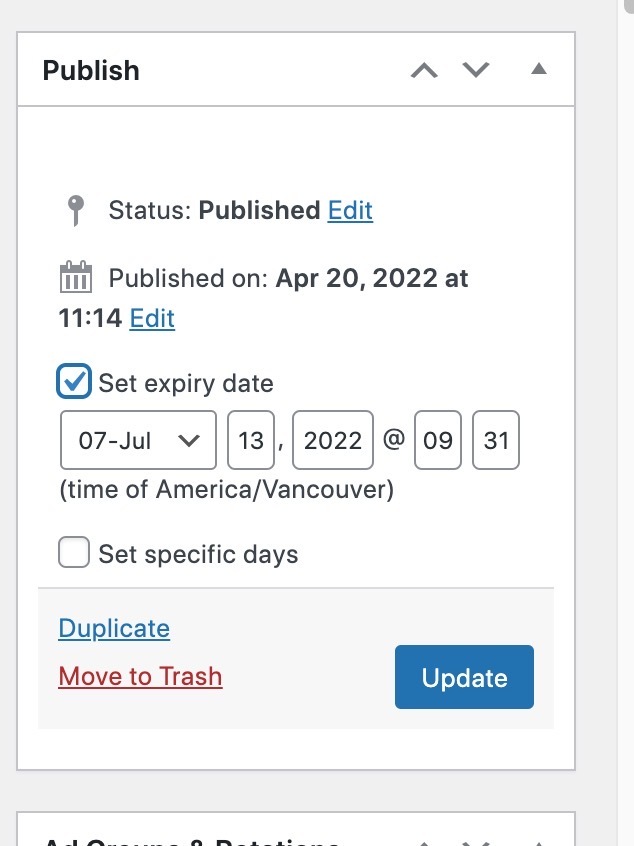
If you need to set a timeline, you can set the expiry date from the publish box.