
Google Analytics - GA4
Google Analytics is a platform that collects data from your website to create reports that provide insights, like demographics, page views, monthly active users, etc. Google Analytics data is currently into two accounts:
- Create an Analytics account. Go to google.com/analytics. To create an account, click Get started today. If you already have a Google Analytics account, click Sign in to Analytics;
- In Admin, in the Account column, click Create Account.
- Provide an account name. Configure the data-sharing settings to control which data you share with Google.
- Click Next to add the first property to the account.
- Enter a name for the property (e.g. "My Website") and select the reporting time zone and currency
-
If you choose a time zone that honors Daylight Savings Time, Analytics automatically adjusts for time changes. Use Greenwich Mean Time if you don't want to adjust for Daylight Savings Time.
-
Changing the time zone only affects data going forward. If you change the time zone for an existing property, you may see a flat spot or a spike in your data, caused by the time shift forwards or backwards, respectively. Report data may refer to the old time zone for a short period after you update your settings, until Analytics servers have processed the change.
-
- Click Next. Select your industry category and business size.
- Click Next. Select how you intend to use Google Analytics.
-
On Start Collecting data, select Web
- Add your website and Stream Name
- Share the measurement ID


Configure your account:
Go to Admin > Data collection and modification > Data retention and select 14 months. Click Save.

To share access:
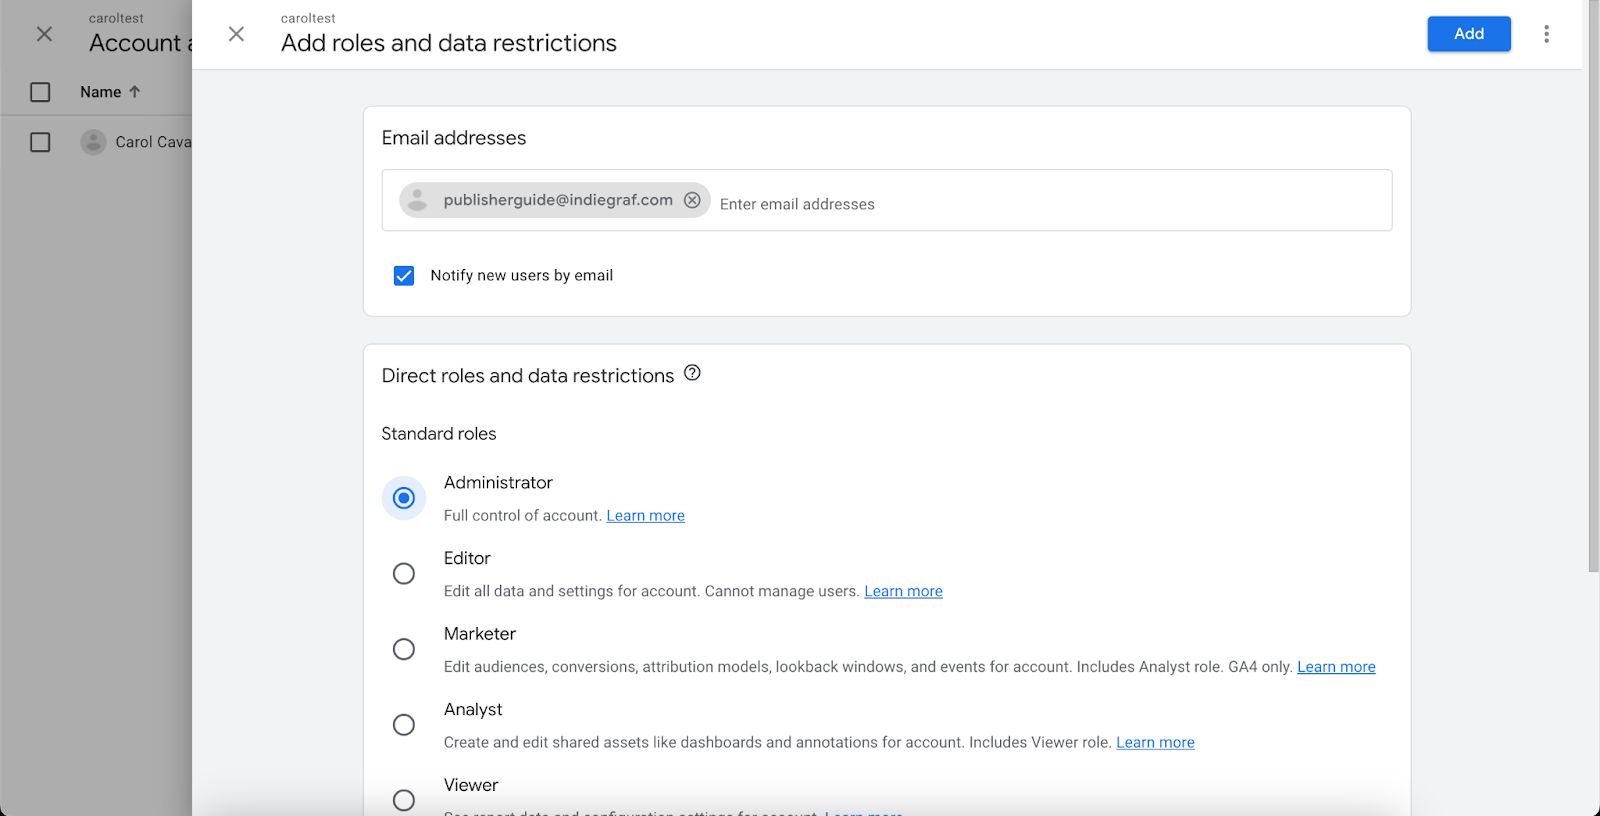
- Go to Admin > Account access Management
- Click on + icon and Add Users. Add publisherguide@indiegraf.com as Administrator
▶️ Check GA4 Training videos on YouTube
Google Tag Manager
Google Tag Manager (GTM) is a tag management system that allows you to quickly and easily update measurement codes and related code fragments your website or mobile app. Indiegraf uses Google Tag Manager to add to your Indie Tech Template a GA4 measurement ID, Facebook Pixel and to measure some clicks on Donate buttons.
On most cases, Indiegraf Team will create you a GTM account. If you already have a GTM account, share with your Publisher Guide as Administration Role
Google Search Console
Google Search Console (GSC) is a free service offered by Google that helps you monitor, maintain, and troubleshoot your site's presence in Google Search results.
Why is it important?
GSC will provide information and issues about page speed, usability, SEO, AMP and structured data. It will also publish your Sitemap to help Google index your website content.
Every long term publisher must have a Google Search Console account. On most cases, Indiegraf Team will create you a GSC account. If you already have a GSC account, share with your Publisher Guide as Total.
How to get a Sitemap
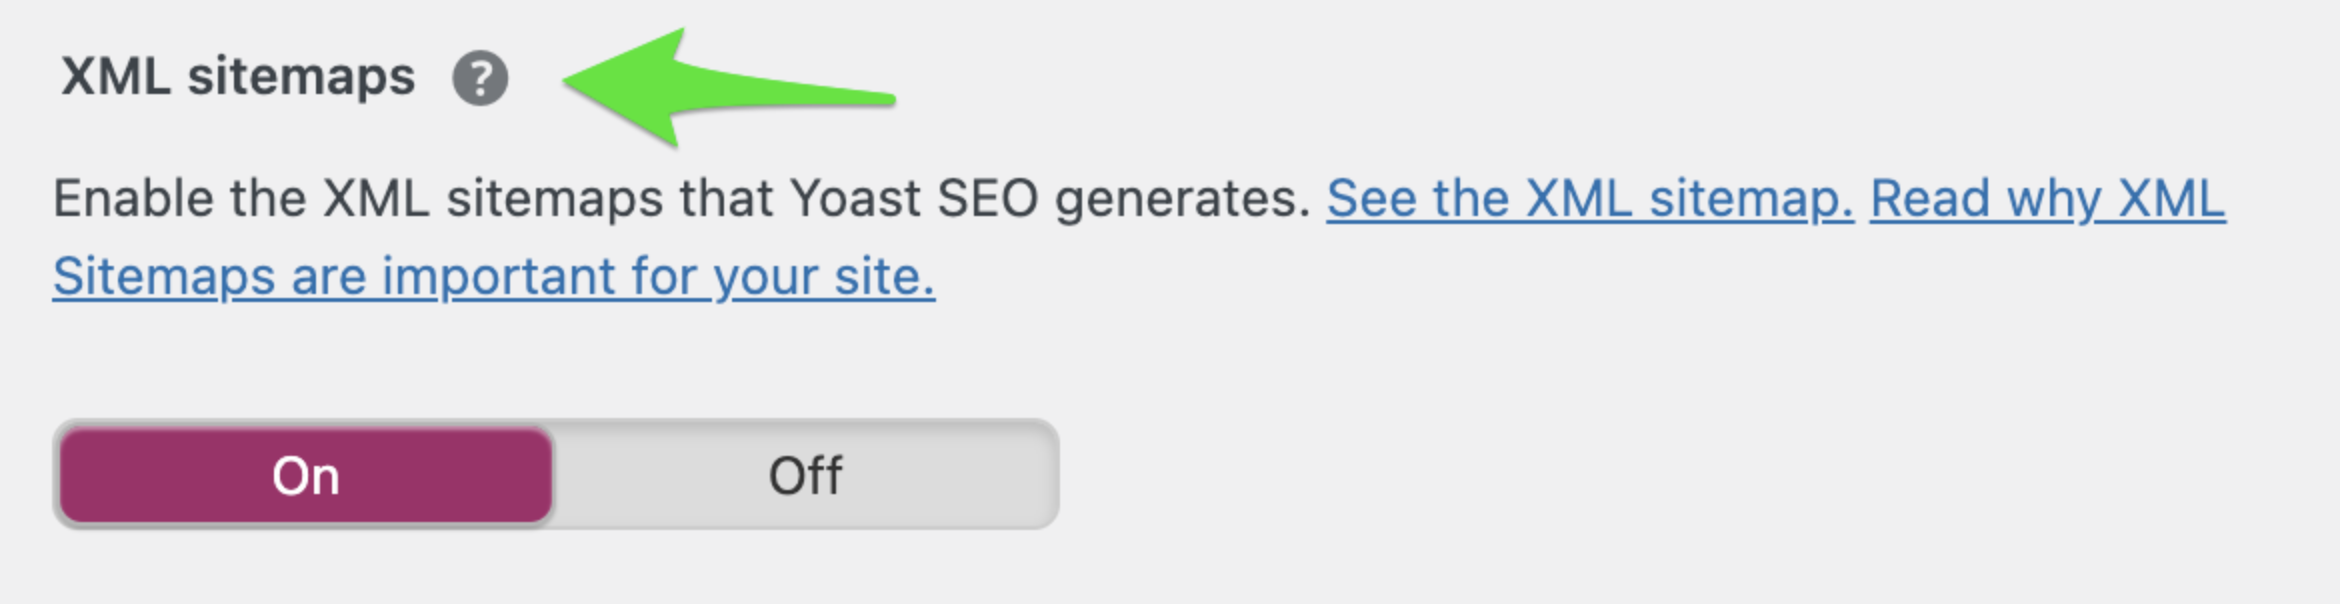
The Yoast plugin installed on your Indie Tech website automatically generates a sitemap. To view the Sitemap, go to Yoast > General and click on Features tab. Scroll down to XML Sitemaps. Make sure that this feature is switch to ‘On’.
To view your Sitemap, click the question mark next to the XML sitemaps feature.A link to the sitemap will appear. Click on See the XML sitemap to open it in a new tab.
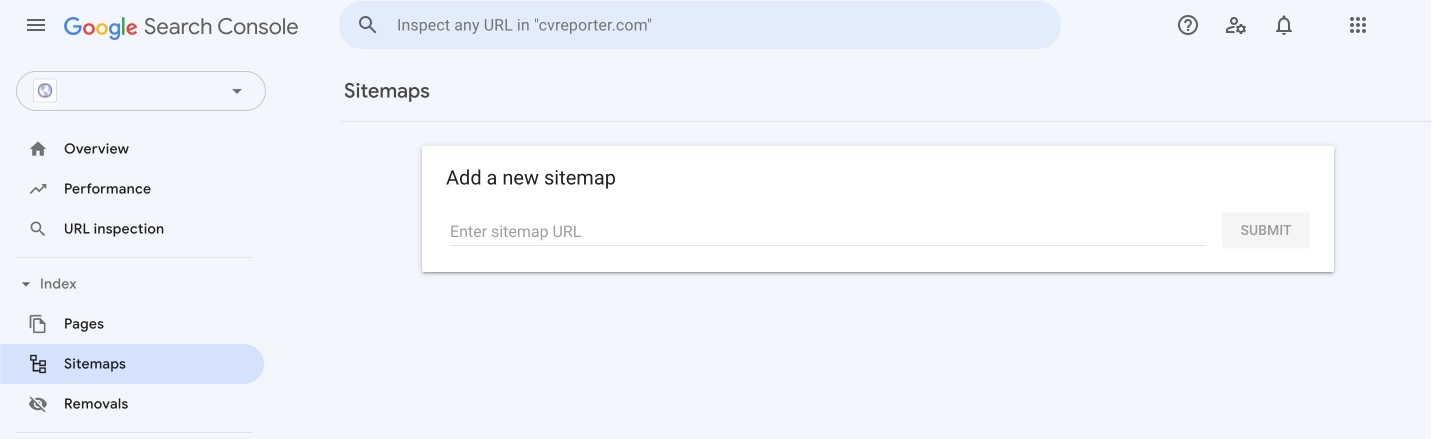
Copy the URL and go back to Google Search Console. Click on Sitemap on the left menu. Paste the URL on Add a new sitemap and click in Submit.
Google might take some time processing your sitemap.
🔗 Understanding and troubleshooting Google Search Console errors
▶️ Google Search Console training
Google Publisher Center
- Go to the Google Publisher Center homepage and either create a Google account or log in with your current one.
- Click on the Add Publication button on the left sidebar.
- Fill in the:
- Publication name
- Primary website property
- Location
- Check the box that shows your publication is permanently located in the country specified.
- Click Add Publication.
Before submitting to Google News, it’s important to fill in settings for your publication. To do so, click Publication Settings next to your new publication listed in the dashboard.
Mark the primary language of your publication, then fill in anything you missed from the setup, like the publication name or location.
Verify your website property URL using Google Search Console. After that, add points of contact for your publication. Click on Next.
Add visual styles
This sends you to the Visual Styles page, where you can upload visual elements that appear when users view your content on Google News.
-
Add a square logo that shows next to indexed articles.
-
Upload a light themed rectangular logo for viewing on lighter interfaces.
-
Upload a dark theme rectangular logo for users who have darker interfaces on their devices.
Choose the Save button when you’re done.
Go back to the main page and click the Google News button. This now is marked as "Not started". This is where you configure every aspect of the publication that appears on Google News. Click Edit.
Select a category
The list of categories available in the Publisher Center may not be exactly the same as the list of categories visible to users in Google News, as the catalog is adjusted to optimize the browsing experience for readers. Sometimes similar categories may be combined.
Here’s a list of the categories available to publishers in the Publisher Center, and how they correlate with the categories that are available to users:
|
In the Publisher Center
|
In the Newsstand tab in Google News
|
|
Architecture
Home & garden
Real estate
Entertainment
Events
|
Home & garden
Entertainment
|
|
Arts
Crafts & hobbies
Design
Fashion & style
Food & drink
Home & garden
Men's lifestyle
Parenting & children
Pets
Photography
Shopping
Social good
Special interest
Travel
Women's lifestyle
|
Special interest
|
|
News & politics
Business
Local
|
News & politics
|
|
Health & fitness
|
Health & fitness
|
|
Science & technology
|
Science & technology
|
|
Sports
Automotive
|
Sports
|
|
Food & drink
|
Food & drink
|
After selecting the category, you can chose if your publication will be available to readers worldwide. If you'd prefer to limit this, you can either allow or block specific countries from seeing links to content from your publication. After that, click Next.
Sections
You can submit a section of your website’s content to Google News. Let's create the first session as "Latest News" and link your website feed:
- Click Content settings
- New section. From the drop-down menu, select Feed
- In the pop-up window, include the name of the session, "Latest News"
- Enter your RSS or Atom feed URL. It's your publication website with /feed , example https://example.com/feed
- Click Save
- Under "Content settings," click + New section > Web
- Under "Section title," enter the title you want to display for your section
- Under "URL," enter the URL of the web location that includes the articles you want to display for this section
- Click Save
This final page offers a preview of your Google News feed to the right. It might take a few days to populate, specially if one of your sections is an RSS feed. Click through the Review links on the left side to ensure you address any issues and review the terms of service.
Once all that is done, you can click Publish. Google might take between 2-4 weeks to review it.