If you need to collect the mailing addresses of your readers, Indie Tech Pay allows you two options. You can either ask for Billing Address or Shipping Address.
Should I use Billing Address or Shipping Address?
If you are pre-emptively collecting addresses, for example, if you had plans to potentially send thank you cards in the future, we recommend using Billing Address. This way, readers aren't confused about why you're asking for their address.
If you have made it explicit to readers that you will send them physical mail, whether it is part of your membership program or the result of a merchandise campaign, use Shipping Address. This allows readers to make sure they can decide where they want their mail to wind up.
How do I start collecting addresses?
- Go to the backend of your checkout page. You can access this by adding /checkout to the end of your site URL.
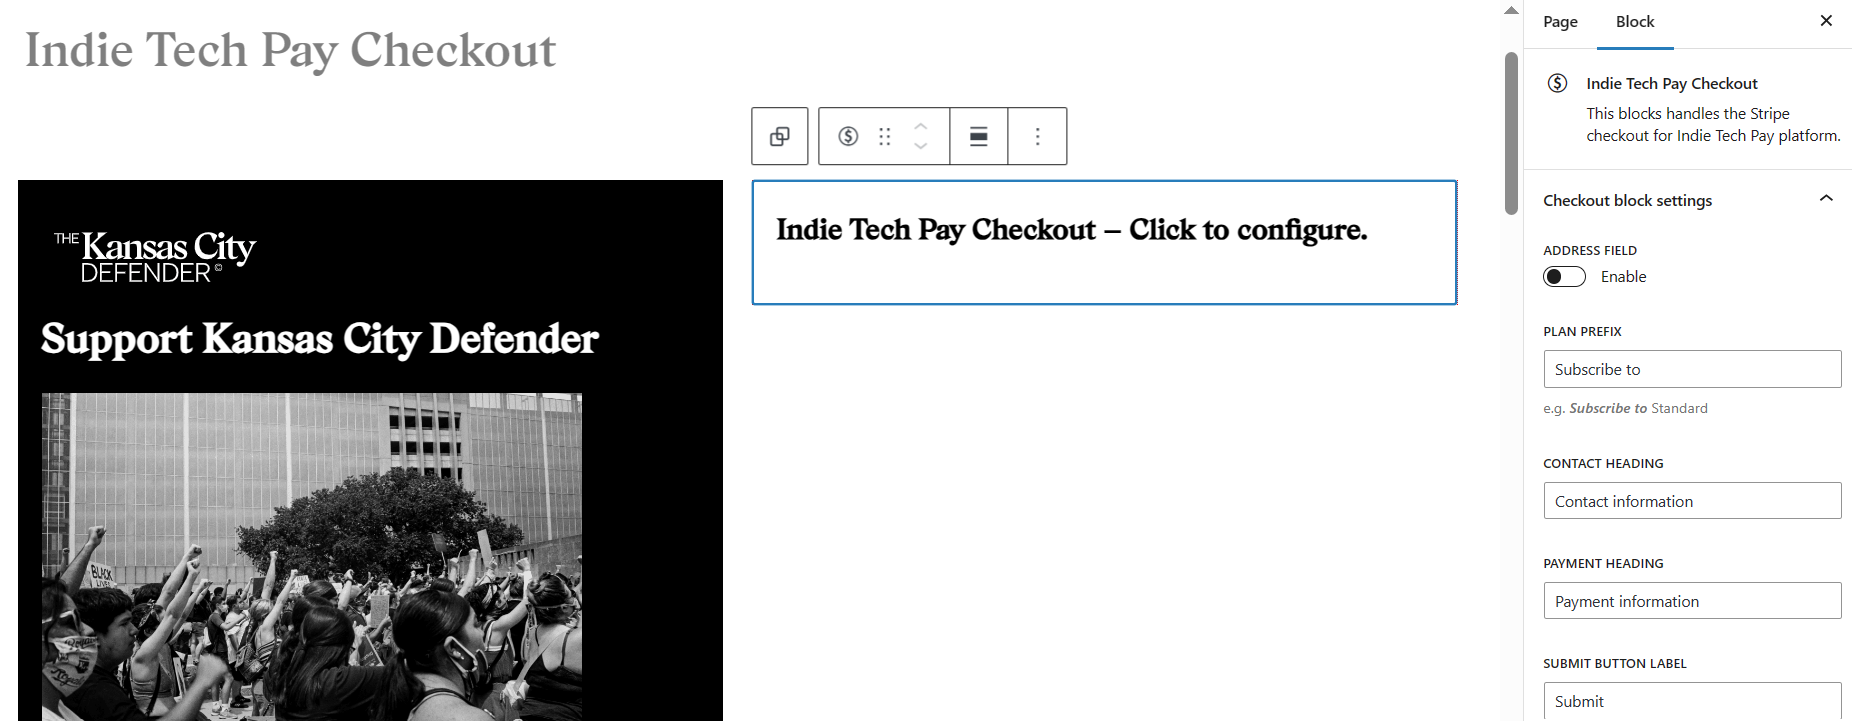
Ex. https://IndiegrafExample.com/checkout - Click on the Indie Tech Pay module (where it says "Click to configure."), and you'll see a column on the right side appear called "Indie Tech Pay Checkout".
- Under "Address Field", toggle on the switch to "Enable" collecting addresses. Choose Billing or Shipping, depending on your needs.
- Once you've selected the option you want, you shouldn't have to make any other changes to the settings. Click "Update" at the top of the page, and you will be good to go!

How do I check if my changes to the checkout page went through?
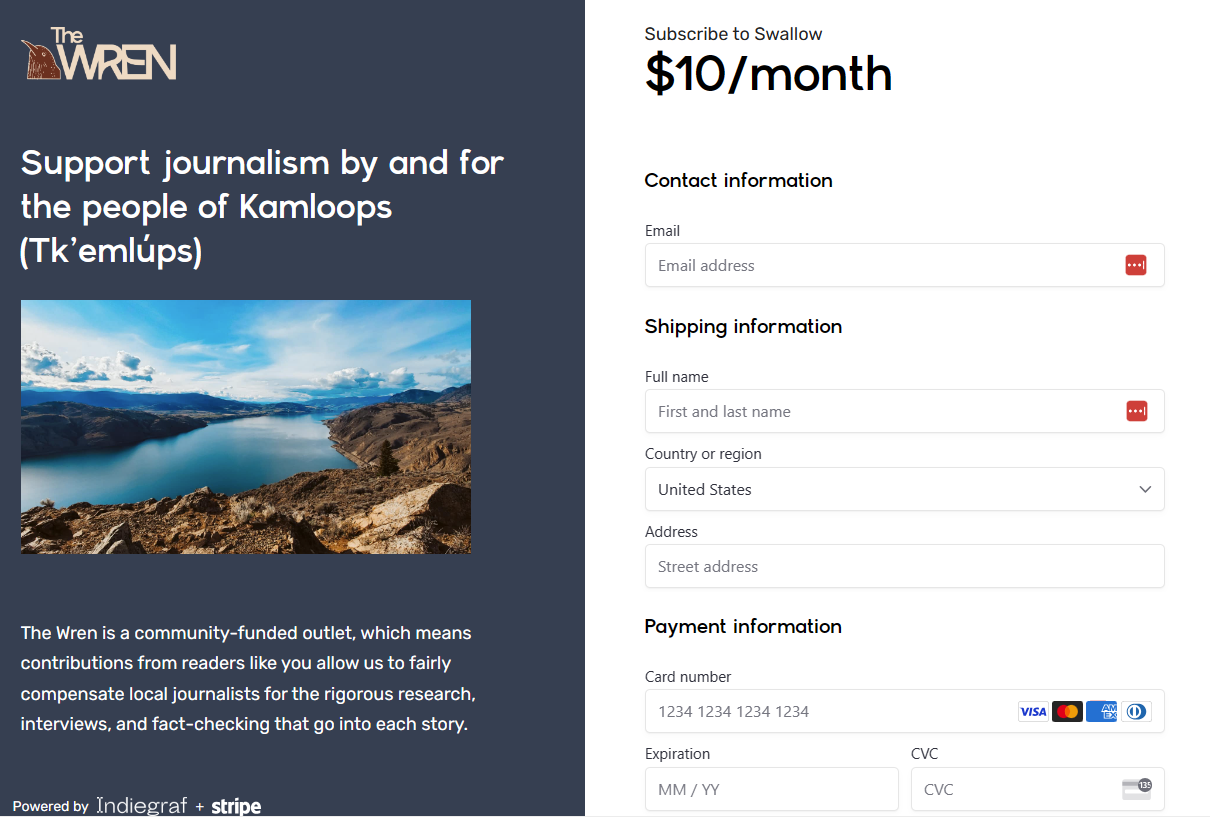
- Go to your support/donate page and select any donation option. Don't worry -- you won't actually be making any payments.
- This will take you to your checkout page. Make sure you've selected a donation option, or the checkout page will appear blank (it's dynamic, based on the donation option you've selected).
- Once there, you should see the options to fill in an address.
How do I download addresses after I've collected them?
- Head over to your Stripe account. Make sure you have the right permissions to download data.
- Choose the Payments page (or simply go directly to https://dashboard.stripe.com/payments).
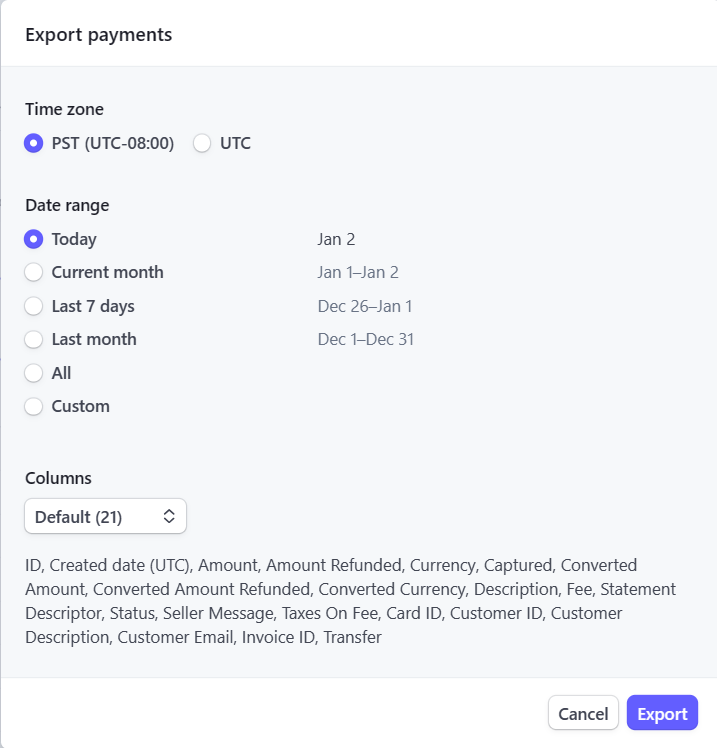
- On the right side of the dashboard, you'll see a button labelled "Export". Click on that.
- A window will appear, allowing you to select your filters. Choose the Time zone and Date range of customers that you want to see.
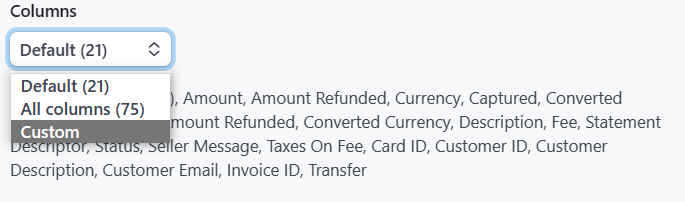
- Under "Columns", click on the drop down and select the "Custom" option.
- Once you've selected the "Columns" option, you will be offered a plethora of options. For the purpose of downloading addresses, you can uncheck everything except for the following:
Under "Customer Details", select all the relevant Shipping (or Billing) information. - Click "Export" on the bottom right of the window, and you will be able to download a .CSV