This article will outline how to serve display ads to your Indie Site using Indie Ads Manager.
In order to serve ads from Indie Ads Manager to your Indie Site, you need to add your zone tags to your site. Indie Tech makes this quick any easy! A zone tag is a piece of code that is placed on your website or app. The zone tags requests an ad from Indie Ads Manager whenever a visitor loads the webpage or app associated with that zone. Without a zone tag, a publisher's website or app cannot reach out to Indie Ads Manager and the ad server has no way of knowing when or where to serve the ads. Learn more about Understanding Zones in Indie Ads Manager.
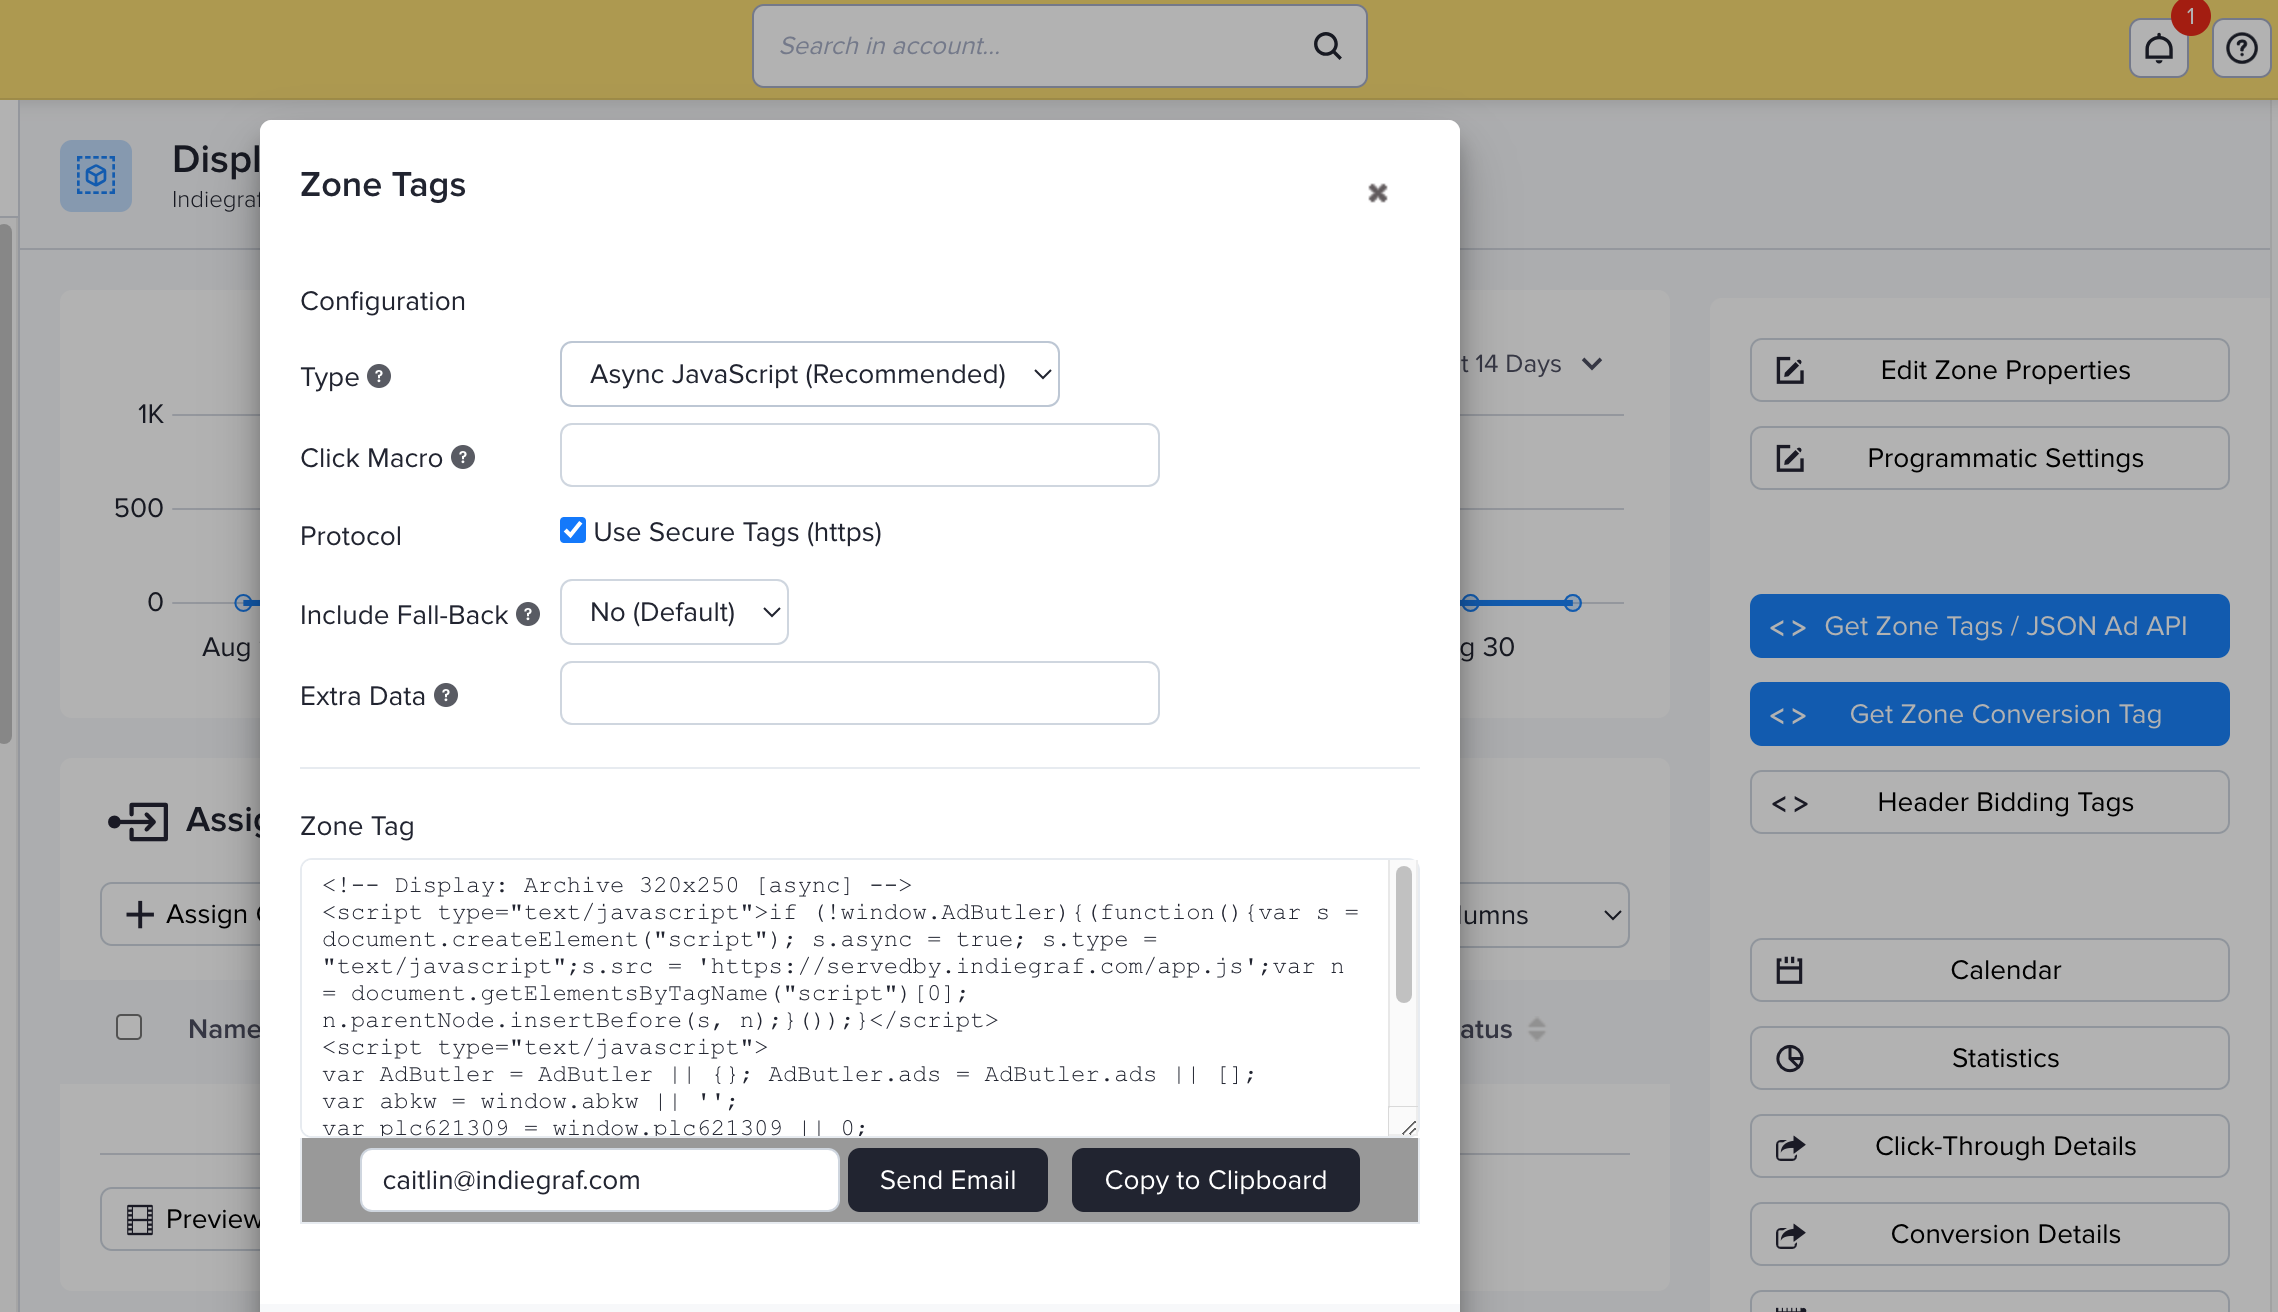
After creating a zone and assigning a campaign or ad item to it, you must send its zone tag to your website to start serving ads. A zone tag is a piece of code that is placed on the website or app. It requests an ad from the Indie Ads Manager whenever someone visits the zone's page or app. Without the zone tag, the publisher's site or app can't reach out to Indie Ads Manager, and the manager has no way of knowing when or where to serve ads.
Serving Ads to Your Indie Tech Website
- Go to the relevant publisher in Indie Ads Manager.
- Click on the Zone you would like to serve ads from.
- Click Get Zone Tags/JSON Ad API. This will open a new window with the required code.
- Copy the code or send to email.
- Log into your website.
- Click Options on the left hand navigation menu.
- Scroll down to the section called Indie Ads Zones.
- Add the zone tag to the relevant section.
Standard Indie Ads Zone Placements
Indie Tech websites include five standard zone placements.
- Header Placements: Header placements are typically located at the top of most pages on your website. This placement fits horizontal ads, so use a zone sized for leaderboard (728 x 90), billboard (970 x 250), or mobile banner ads (320 x 50).
-
Sidebar Placements: Sidebar placements can be found on the right side of your website. Each website can include up to two sidebar placements. These placements fit square, rectangular, or vertical ads best, so use a zone sized for medium rectangle (300 x 250) or half page ads (300 x 600).
-
Archive Placements: These placements are specific to Category and Tag pages only. This placement fits horizontal ads best, so using a leaderboard zone (728 x 90) or mobile banner zone (320 x 50) would be ideal. A medium rectangle (300 x 250) zone would also work.
-
Post Placements: This placement is located at the bottom of your articles. This placement fits horizontal ads best, so using a leaderboard zone (728 x 90) or mobile banner zone (320 x 50) would be ideal. A medium rectangle (300 x 250) zone would also work.
Serving Ads to Specific Posts or Pages
- Go to the relevant publisher in Indie Ads Manager.
- Click on the Zone placement you would like to serve ads from.
- Click Get Zone Tags/JSON Ad API. This will open a new window with the required code.
- Copy the code or send to email.
- Log into your website.
- Navigate to the area on your website you would like to insert the ad into. This could be a post or page. Or it could be in a fixed location on an archive page or sidebar.
- Paste in the Zone Tags that you copied from Indie Ads Manager. For example, if your site runs on Wordpress, you will want to add an HTML content block in the location where you would like the ad to display.
- Publish your changes and your display ad will immediately be visible.